
Turning physical documents into digital softcopies is simpler than you might think. Scanning documents is an efficient method to create digital versions that can be easily shared and stored.
Most modern printers come equipped with an integrated scanning feature, eliminating the need for separate scanning devices. In today’s digital age, the demand for document scanning is constantly increasing, making it essential to learn how to scan documents using your printer.
 How to Scan Documents on Your Printer
This article will guide you through several methods on how to scan documents using a printer, allowing you to obtain softcopies of your important papers. Before starting the scanning process, ensure your laptop or computer is connected to the printer and that the printer is powered on.
Scanning from Your Printer to Windows
Windows offers two built-in programs that you can use to scan from your printer. Choose the method that best suits your preferences.
If you are a Windows user, the operating system provides a built-in feature for scanning documents. This feature is known as Windows Fax and Scan. Windows provides this application to easily scan documents. To scan from your printer using this program, follow these steps:
- First, press the Start button, or the Windows logo key on your keyboard. Then, type “Windows Fax and Scan”.
- A feature called Windows Fax and Scan will appear. Select this option. (Note: On Windows 7, you can find it in the Control Panel, or by using the Run program and typing “wfs”. The steps are similar for Windows 8 and later versions.)
- Click on “New Scan” in the top toolbar.
- If the correct printer is not listed under “Scanner,” click “Change…”.
- If your printer is not displayed, select “Change” to choose the correct one.
- Select your printer from the list and click “OK”.
- Adjust the scan settings according to your needs, such as resolution, color format, and file type.
- Click “Preview” to see how your document will look before the final scan. Once you are satisfied with the preview, click “Scan” to begin the scanning process.
- Wait for a moment as your document is being scanned and digitized. Once complete, your scanned document will be saved on your computer.
Scanning Documents Using Printer Software
As mentioned earlier, most recent printer models come with dedicated software to simplify user operations. One key function of this software is document scanning. Printer software typically offers features such as:
- Optical Character Recognition (OCR) to convert scanned images into editable text.
- Directly sending scans to email.
- Saving scans in various file formats like TIFF, PDF, XPS, and more.
- Scanning multiple images or pages into a single file.
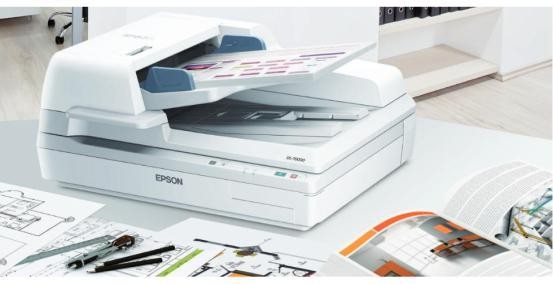
Scanning Documents Using Epson Printer Software
To illustrate scanning documents using printer software, we will use Epson’s proprietary application as an example. Epson is a widely used printer brand, and its scanning process is straightforward.
- First, prepare the document you want to scan.
- Place the document on the scanner glass of your Epson printer. For models like the Epson L3210, the scanner glass is located under the top cover.
- Ensure your Epson printer is properly connected to your laptop or computer.
- Next, install the Epson printer software, often named “Epson Scan”. This application is designed by Epson to facilitate easy scanning for users. Within the Epson Scan application, you will typically find several modes, such as: Full Auto Mode, Home Mode, Office Mode, and Professional Mode.
- If the document you are scanning is a photograph, it is recommended to use Professional Mode to achieve optimal image quality with vibrant colors. Often, the colors of the physical document and the preview on the application might differ slightly. Make necessary adjustments to settings to match the preview to your desired output. Once you are satisfied with the preview, click “Scan” to proceed with the scanning process.
- After the scanning process is complete, you can locate the scanned document in the designated folder you set previously. By default, scanned documents are often saved in the “Pictures” folder on your computer. The scanned output can be a single image file, a PDF document, or a JPEG image, depending on your settings.
When using printer software, you might also have the option to set a password during the scanning settings adjustment. This feature is particularly useful for documents containing highly confidential information, ensuring that your documents remain protected and secure from unauthorized access.
This concludes the guide on how to scan documents using a printer. If you are interested in purchasing an Epson printer, please visit the Printer Epson Bhinneka page.