
The Engine Control Unit (ECU) is essentially the brain of your car, managing everything from fuel injection to emission controls. It ensures your vehicle operates efficiently and smoothly. However, like any computer system, your car’s ECU can encounter glitches, sometimes indicated by the dreaded check engine light. While a scan tool, like the Ancel V6 Pro, is a handy device to diagnose and reset your ECU by reading and clearing error codes, you might find yourself in a situation where you need to reset your car’s computer without one.
Fortunately, resetting your car’s ECU without a specialized scan tool is possible. This guide will explore both methods: using a scan tool for those who have one, and crucially, how to effectively reset your car computer without a scan tool.
Why You Might Need to Reset Your Car Computer
Resetting your ECU goes beyond just switching off the check engine light. It’s about optimizing your vehicle’s performance and clearing potentially problematic stored data. Here are several key reasons why resetting your ECU might be beneficial:
- Clearing Diagnostic Trouble Codes (DTCs): After you’ve addressed the underlying issue that triggered the check engine light, resetting the ECU is essential to erase the error codes and turn off the light. This confirms the problem is resolved in the system’s memory.
- Restoring Adaptive Learning: Modern ECUs are designed to learn and adapt to your driving habits and environmental conditions over time. This adaptive learning can sometimes become skewed or inefficient, leading to decreased performance. Resetting the ECU reverts it to its factory baseline settings, allowing it to relearn and potentially improve performance.
- Improving Vehicle Performance: If your car feels sluggish, is idling roughly, or isn’t performing optimally, a reset can clear out accumulated data that might be hindering performance. This forces the ECU to recalibrate and can lead to noticeable improvements in responsiveness and overall engine operation.
Further Reading: Understanding ECU Programming and its Importance
Resetting Your ECU Using an OBD-II Scan Tool
For those equipped with an OBD-II scan tool, the process of resetting the ECU is quite simple and efficient. Here’s a step-by-step guide:
Step 1: Gather the Necessary Tool
You will need an OBD-II compliant scan tool. This device connects to your vehicle’s OBD-II port, which is standard on most cars manufactured after 1996.
Step 2: Locate and Connect the OBD-II Scanner
The OBD-II port is typically located beneath the dashboard on the driver’s side. It’s often near the steering column or in the footwell area.
Plug your OBD-II scanner securely into this port.
Step 3: Turn On the Ignition (Accessory Mode)
With the scanner connected, turn your car’s ignition to the “ON” position. This powers up the car’s electronics, including the ECU, and allows the scanner to communicate with it. Do not start the engine.
Step 4: Read and Clear Error Codes
Use your scan tool to access the ECU and read any stored Diagnostic Trouble Codes (DTCs). It’s advisable to record these codes as they can be valuable for future diagnostics if the issue recurs.
Once you have noted the codes and are confident that the related issue has been resolved, use the scan tool’s menu option to “clear codes.” This command will reset the ECU and extinguish the check engine light.
Step 5: Disconnect the Scanner and Verify
After successfully clearing the codes, turn off the scan tool and disconnect it from the OBD-II port.
Start your vehicle’s engine and confirm that the check engine light is now off. It’s a good practice to take a short test drive to ensure the reset was effective and the light does not reappear immediately.
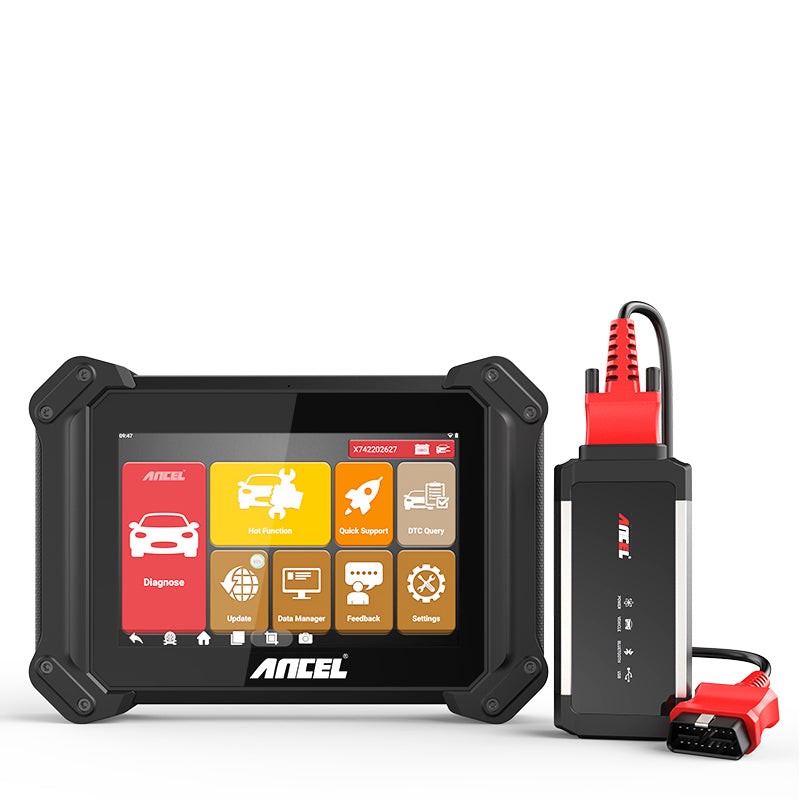 Car Scanner | ANCEL
Alt text: ANCEL V6 PRO Bluetooth car scanner displaying diagnostic capabilities on screen, ideal for ECU reset and vehicle diagnostics.
How to Reset Car Computer Without Scan Tool: Alternative Methods
If you don’t have an OBD-II scanner readily available, don’t worry. There are still effective methods to reset your car’s ECU. These methods are straightforward and require no specialized tools, focusing on power disconnection to achieve the reset.
Method 1: Disconnecting the Negative Battery Terminal
One of the most universally applicable methods to reset the ECU without a scan tool is by disconnecting the negative battery terminal. This method effectively cuts power to the ECU, forcing a reset.
Step 1: Access Your Car Battery
Open your vehicle’s hood and locate the battery. It’s typically situated in the engine bay, but in some vehicles, it might be under the back seat or in the trunk.
Step 2: Disconnect the Negative Battery Terminal
Identify the negative terminal on your battery. It’s usually marked with a ‘-‘ sign and is often black. Using a wrench of the correct size, loosen the nut on the negative terminal clamp. Once loose, carefully remove the cable from the negative terminal post. Ensure the cable is safely moved away from the battery terminal to prevent accidental contact. Important: Avoid touching the positive terminal with your wrench while disconnecting the negative terminal to prevent short circuits.
Step 3: Wait for 15-20 Minutes
Allow your vehicle to sit for 15 to 20 minutes with the negative battery cable disconnected. This waiting period is crucial as it allows sufficient time for any residual electrical charge in the system to dissipate completely, ensuring a thorough ECU reset.
Step 4: Reconnect the Negative Battery Terminal
After the waiting period, reconnect the negative battery cable to the negative terminal post. Tighten the nut securely to ensure a good electrical connection.
Step 5: Start Your Vehicle and Verify Reset
Turn the ignition and start your engine. The check engine light should now be off, indicating the ECU has been reset.
Note: This method may also reset other electronic systems in your car, such as your radio presets, clock, and potentially your alarm system. You might need to reprogram these after reconnecting the battery.
Method 2: Removing the ECU/ECM Fuse
Another quick method to reset the ECU without disconnecting the entire battery is to locate and remove the fuse that specifically powers the ECU or ECM (Engine Control Module).
Step 1: Locate the Fuse Box
Find your car’s fuse box. Most vehicles have at least two fuse boxes: one typically located under the hood and another inside the cabin, often beneath the dashboard or in the glove compartment. Refer to your car’s owner’s manual to pinpoint the exact location and fuse layout diagram.
Step 2: Identify the ECU/ECM Fuse
Consult the fuse box diagram, usually printed on the inside of the fuse box cover. Look for a fuse labeled “ECU,” “ECM,” “Engine Control,” or similar terms. The owner’s manual will provide the most accurate identification.
Step 3: Remove the ECU/ECM Fuse
Once you’ve located the correct fuse, use a fuse puller (often included in the fuse box) or needle-nose pliers to carefully remove the fuse. If using pliers, be gentle to avoid damaging the fuse.
Step 4: Wait and Reinstall the Fuse
Wait for a few minutes (around 5 minutes is generally sufficient) with the fuse removed. This brief period is enough to discharge the ECU’s capacitors and trigger a reset. After waiting, reinsert the fuse firmly back into its slot, ensuring it is fully seated.
Step 5: Start the Engine and Check
Start your vehicle’s engine. The ECU should be reset, and the check engine light should be off, provided the original issue has been resolved.
This method is generally quicker than disconnecting the battery and typically does not affect other vehicle settings like radio presets or clock settings.
Conclusion
While using a professional OBD2 scan tool offers the most direct and feature-rich approach to ECU resetting and diagnostics, knowing how to reset your car computer without a scan tool is a valuable skill for any car owner. Whether you choose to disconnect the battery or remove the ECU fuse, these methods provide effective alternatives when a scan tool is not available.
Regardless of the method you use to reset your ECU, remember that resetting the computer is often a temporary solution if the underlying problem causing the error codes is not addressed. Always investigate and repair the root cause of any check engine light or performance issue to prevent recurrence and ensure the longevity and reliability of your vehicle.
FAQs About Resetting Your Car Computer
Is it okay to reset the ECU frequently?
While resetting the ECU is generally safe, doing it excessively or without addressing underlying issues is not recommended. Frequent resets can erase valuable adaptation data that helps your car run optimally. Only reset the ECU when necessary, such as after repairs or for troubleshooting purposes.
Will resetting my ECU affect my car’s emissions testing?
Yes, resetting the ECU can impact emissions testing. When you reset the ECU, it also resets the “readiness monitors,” which are systems the ECU checks to ensure emissions controls are working correctly. These monitors need to complete a drive cycle to reset to a “ready” status. If you reset your ECU just before an emissions test, your vehicle might fail because these monitors are not ready. Drive your car for a few days after a reset to allow these monitors to reset before going for an emissions test.
Can resetting the car computer improve fuel economy?
Potentially, yes. If your ECU has been operating with inefficient adaptive learning or outdated data, resetting it can allow it to recalibrate and potentially improve fuel efficiency. However, fuel efficiency improvements are not guaranteed and depend on various factors such as vehicle condition, driving habits, and the presence of any underlying mechanical issues.