In today’s fast-paced digital world, the ability to quickly digitize important documents is invaluable. Whether it’s for sending applications, creating digital backups, or simply sharing information, scanning documents with your phone offers a convenient solution right at your fingertips. This guide will walk you through the simple steps to scan your diplomas, certificates, and other essential documents directly using your iPhone or iPad.
Scanning Documents Using the Notes App
The Notes app, a built-in tool on every iPhone and iPad, provides a surprisingly efficient document scanning feature. Here’s how to use it:
-
Open Notes and Start a New Note: Launch the Notes app on your iPhone or iPad. You can scan a document into an existing note or create a new one specifically for your scanned diploma or document.
-
Access the Scan Document Feature: Within your chosen note, look for the attachment button, which typically appears as a camera icon or a plus sign. Tap this button, and from the options that appear, select “Scan Documents.”
This icon, labeled “Scan Documents”, is found within the attachment options in the Notes app, allowing users to initiate the document scanning process directly from their iPhone or iPad.
-
Position Your Document: Place the diploma or document you want to scan on a flat, well-lit surface. Position your iPhone or iPad camera directly above the document.
-
Automatic or Manual Scanning:
- Automatic Mode: By default, the scanner operates in Auto mode. It intelligently detects the document’s edges and automatically captures the scan. Simply hold your device steady, and the scan will happen automatically.
- Manual Mode: If you prefer more control, or if the automatic mode isn’t working perfectly, you can manually trigger the scan. Tap the shutter button (the circular button at the bottom) or press either of the volume buttons to capture the image.
-
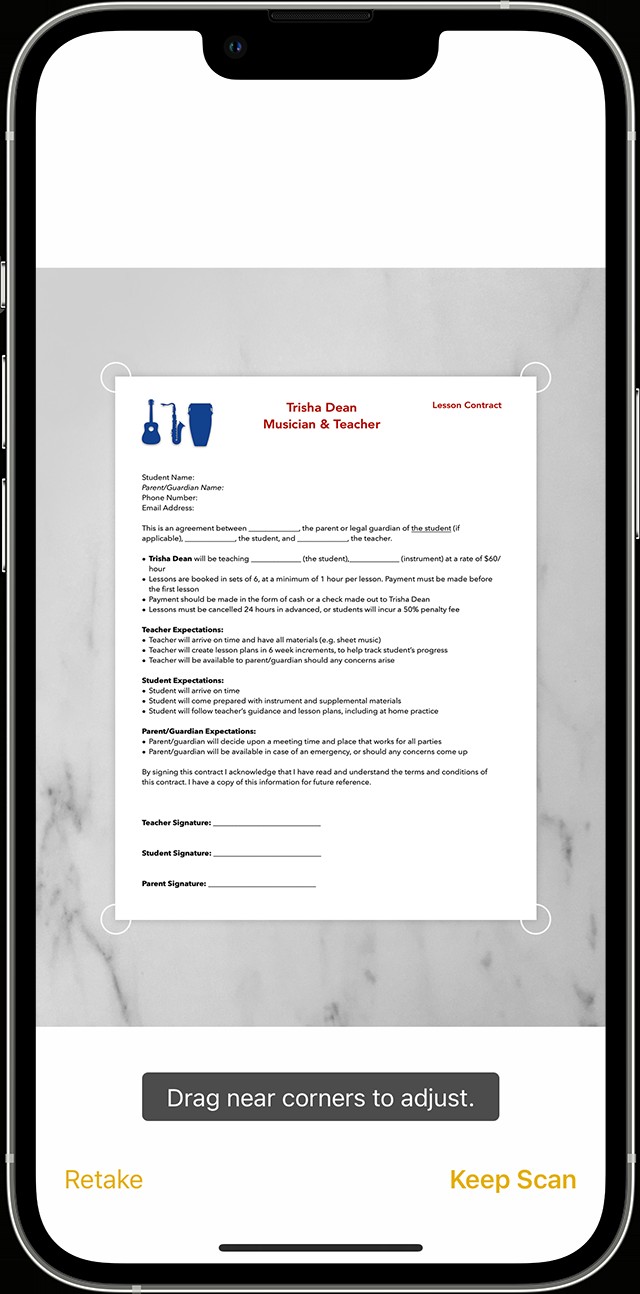
Adjust the Scan (If Necessary): After capturing the initial scan, you may need to adjust the corners to perfectly frame your document. Drag the corner handles to precisely align the scan with the edges of your diploma or document. Once satisfied, tap “Keep Scan.”
-
Save Your Scanned Document: Continue scanning any additional pages if needed. When you’re finished scanning all pages, tap “Save” in the bottom right corner of the screen. The scanned document will be saved as a PDF within your note.
 Scanning a document with the iPhone camera in the Notes app on iOS.
Alternatively, from within an open note, you can also tap the “More” button (often represented by three dots) and then select “Scan” to initiate the document scanning process.
For users interested in integrating their Apple devices, you can also explore using Continuity Camera to scan documents from your iPhone or iPad directly to your Mac. Learn more about using Continuity Camera for scanning notes from iPhone or iPad to Mac. For those using older iOS versions, detailed steps for scanning documents in Notes on iOS 17 and earlier are also available. Find instructions for scanning documents in Notes on iOS 17 and earlier.
Digitally Signing Scanned Documents in Notes
Once you’ve scanned your diploma or important document, you might need to sign it digitally. The Notes app also allows you to add your signature directly to the scanned document:
-
Open the Scanned Document: In the Notes app, tap on the note containing your scanned document, then tap on the document itself to open it.
-
Access Markup Tools: Tap the Markup button, which looks like a pen icon in a circle. This will open up a toolbar with various annotation and editing options.
The “Markup” icon, depicted as a pen inside a circle, activates the annotation tools within the Notes app, enabling users to edit and sign their scanned documents directly on their iPhone or iPad.
-
Insert Your Signature: In the markup toolbar, tap the “Add” button (usually a plus sign). From the dropdown menu, select “Signature.”
Represented by a stylized signature icon, the “Signature” button within the Markup tools allows users to insert saved signatures or create new ones directly onto their scanned documents within the Notes app.
-
Create or Choose a Signature:
- Saved Signature: If you’ve previously saved a signature in Notes, it will appear as an option. Tap on your saved signature to insert it.
- Create New Signature: If you don’t have a saved signature, or want to create a new one, tap “Create New Signature.” Use your finger or an Apple Pencil (on compatible iPads) to sign your name in the provided space. Tap “Done” when finished, and your new signature will be saved for future use and inserted into your document.
-
Adjust and Position Your Signature: Once your signature is inserted, you can resize it by dragging the corner handles and move it to the desired location on your diploma or document.
-
Finalize: Tap “Done” in the markup toolbar to save your signed document.
You can also manually sign the document using the pen or marker tools in the markup menu, directly signing with your finger or Apple Pencil.
Scanning Documents Using the Files App
For users who prefer to manage their scanned documents directly within the Files app, or need to save them in specific locations, the Files app also offers a document scanning feature:
- Open the Files App: Launch the Files app on your iPhone or iPad.
- Access the Scan Document Option: In the Files app, tap the “More” button, which is typically represented by three dots in a circle, usually located in the top or bottom toolbar. From the menu that appears, select “Scan Document.”
- Scan Your Document: Follow steps 3-6 from the “Scanning Documents Using the Notes App” section above to scan your diploma or document using the Files app interface. The scanning process and controls are largely the same as in the Notes app.
- Save in Files: After scanning and adjusting your document, tap “Save.” The Files app will prompt you to choose a location to save your scanned document, allowing you to organize it within your preferred folders in iCloud Drive or On My iPhone/iPad.
Explore More with Notes
Beyond document scanning and signing, the Notes app offers a wide range of features to enhance your productivity and organization. Learn more about using Notes on your iPhone or iPad to discover its full potential for managing information and documents efficiently.
Published Date: (Original article did not have a published date, so I’m omitting it)