In today’s fast-paced office environment, a reliable printer is indispensable. The Canon MX497 series is a popular choice for many office workers due to its versatility. Beyond just printing, the Canon MX497 is also equipped with a scanner, making it a valuable all-in-one device. This scanning capability allows you to easily digitize documents, create copies, and streamline your workflow. Unlike some other Canon models that are limited to A4 size, the MX497 can handle documents up to F4 size, offering added flexibility for various office tasks.
If you’re new to using the scanning function of your Canon MX497, don’t worry. Scanning documents with this printer is a straightforward process. This guide will walk you through the simple steps to effectively scan your documents using your Canon MX497 printer.
Simple Steps to Scan Documents with Your Canon MX497
-
Power On Your Printer and Prepare Your Document: Ensure your Canon MX497 printer is turned on and ready. Carefully prepare the document you wish to scan. Remove any staples, paper clips, or anything that might obstruct the scanning process. Smooth out any wrinkles or folds in the document for a clearer scan.
-
Place Your Document on the Scanner Bed: Open the scanner cover on your Canon MX497. Position your document face-down on the scanner glass. Align the corner of your document with the alignment mark, typically located at the corner of the scanner bed. Close the scanner cover gently.
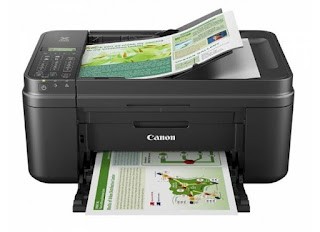 Canon MX497 Printer Ready to Scan Documents
 -
Initiate the Scan Function: You can start the scanning process in a couple of ways:
-
Using the Printer’s Control Panel: Navigate the menu on your Canon MX497’s control panel. Look for options like “Scan,” “Scan to PC,” or similar terms. Select the “Scan” option and press “OK” to proceed.
-
Using Your Computer: Alternatively, you can initiate the scan from your computer if you have the Canon printer drivers and software installed. Open the Canon scanning software (e.g., IJ Scan Utility) on your computer.
-
-
Configure Scan Settings (Optional but Recommended): Before starting the scan, you may have the option to adjust scan settings. This is usually available through the computer software. Common settings include:
- Document Type: Specify if you are scanning a document or a photo.
- Color Mode: Choose between color, grayscale, or black and white.
- Resolution (DPI): Higher DPI results in better image quality but larger file sizes. 300 DPI is generally sufficient for documents, while 600 DPI or higher is recommended for photos.
- File Format: Select the desired file format for your scanned document, such as PDF, JPG, or TIFF. PDF is often preferred for documents as it preserves formatting and is universally readable.
-
Start the Scanning Process: Once you are satisfied with your settings (or default settings), initiate the scan. If using the printer panel, press the “Start” or “Scan” button on the printer. If using the computer software, click the “Scan” button within the software interface.
-
Retrieve Your Scanned Document: After the scan is complete, your scanned document will be saved to your computer in the location specified in your scan settings, or it may be displayed within the Canon scanning software. You can now open, view, and use your newly digitized document.
By following these simple steps, you can easily utilize the scanning capabilities of your Canon MX497 printer to digitize your documents efficiently. Whether for archiving important papers or sharing documents digitally, the Canon MX497 makes document scanning accessible and user-friendly.