
Scanning documents to create digital copies is a straightforward process. Modern printers often come with integrated scanning features, eliminating the need for separate scanning devices. In today’s digital age, knowing how to scan documents using your printer is increasingly useful for efficient document management and sharing.
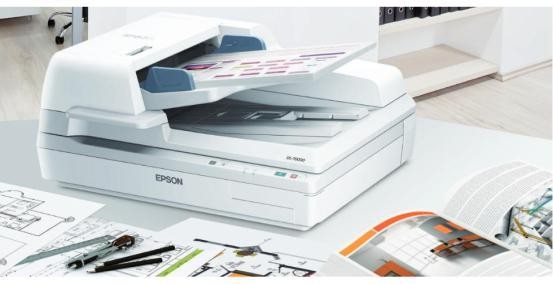 Close-up of a document being scanned on a printer, illustrating the process of converting physical documents to digital files.
This guide will walk you through different methods to scan documents using your printer, allowing you to easily create soft copies. Before you begin, ensure your printer is connected to your computer and powered on.
Scanning via Windows Built-in Feature
Windows operating systems offer a built-in feature for scanning directly from your printer. This feature, known as “Windows Fax and Scan,” provides a simple way to digitize your documents without needing additional software. Here’s how to use it:
- Click on the Start button, or press the Windows logo key on your keyboard. Type “wfs” to quickly find the application.
- Select “Windows Fax and Scan” from the search results. (For Windows 7, you might find this in Control Panel or by using the Run program and typing “wfs”). The process is similar for Windows 8 and later versions.
- In the Windows Fax and Scan window, click on “New Scan”.
- If the correct printer is not listed under “Scanner,” click “Change…”.
- If your printer is not initially selected, choose “Change” to view available scanners.
- Select the printer you intend to use for scanning from the list and click “OK”.
- Adjust the scan settings according to your needs, such as file type, resolution, and color format.
- Click “Preview” to ensure the document is positioned correctly and to see how the scan will look. Once satisfied, click “Scan” to begin the scanning process.
- Wait for the scanning to complete. Once finished, your scanned document will be saved as a digital file on your computer.
Scanning Using Printer Software
Many modern printers come with their own dedicated software applications designed to enhance functionality and user experience. These printer software suites often include scanning utilities that offer more features and control compared to the basic Windows tool. These applications typically provide functionalities like:
- Optical Character Recognition (OCR) to convert scanned images into editable text documents.
- Directly sending scans to email addresses for easy sharing.
- Saving scans in various file formats such as PDF, TIFF, XPS, and common image formats.
- The ability to scan multiple pages and combine them into a single file, streamlining the digitization of multi-page documents.
Example: Scanning with Epson Scan
To illustrate using printer software, let’s look at scanning with Epson’s dedicated application, “Epson Scan.” Epson printers are widely used, and their scanning process is generally user-friendly.
- First, prepare the document you want to scan.
- Place the document on the printer’s scanner bed. For Epson models like the L3210, this is usually under the lid on the top surface of the printer.
- Ensure your Epson printer is properly connected to your computer.
- Install the Epson Scan software. This software is usually included with the printer drivers or can be downloaded from the Epson support website. Epson Scan offers typically four modes: Full Auto Mode, Home Mode, Office Mode, and Professional Mode.
- For scanning photos or images where color accuracy is important, using Professional Mode is recommended to achieve optimal image quality and vibrant colors. Note that the preview on the application might slightly differ from the actual scanned document’s colors. Adjust settings as needed to match the preview to your desired outcome. Once satisfied with the preview, click “Scan” to proceed.
- After the scanning process is complete, you can find your digital document in the designated save folder. By default, scanned images are often saved in the “Pictures” folder on your computer. The scan results can be saved as single image files, PDFs, or JPEGs, depending on your chosen settings.
Printer software often includes options to enhance document security. For sensitive documents, you might find features to add password protection during the scanning setup, ensuring your digital copies are secure and protected from unauthorized access.
In conclusion, scanning documents with a printer is a simple yet essential skill in today’s digital environment. Whether you choose to use the built-in Windows tools or your printer’s dedicated software, the process is designed to be user-friendly, allowing you to efficiently convert your physical documents into digital formats. For those interested in purchasing an Epson printer, you can explore the range available at Printer Epson Bhinneka.