Creating personalized car decals used to be a complex and costly process. But with the power of a scanning and cutting machine like the Brother Scan N Cut, designing and producing your own unique car decals is now easier than ever. Whether you’re looking to add a personal touch to your vehicle, create custom graphics for your business, or simply enjoy a fun DIY project, mastering the “Car Decal Scan” technique opens up a world of creative possibilities.
This guide will walk you through how to transform any image, drawing, or text into a professional-looking car decal using the scan feature on your cutting machine. Say goodbye to generic car accessories and hello to custom designs that truly reflect your style and personality.
Why Car Decal Scan is a Game Changer for Auto Enthusiasts
For car lovers, personalization is key. Car decals are a fantastic way to express individuality, support favorite brands or teams, or simply add a touch of flair to your ride. The “car decal scan” method takes this personalization to a whole new level by allowing you to:
- Create Truly Unique Designs: Forget limited online templates. Scan your own artwork, handwriting, or even intricate patterns to create car decals that are 100% original.
- Match Existing Car Graphics: Need to replace a damaged decal or add a complementary design? Scan an existing graphic on your car and replicate it perfectly.
- Design for Specific Car Models: Scan areas of your car to create decals that fit perfectly to curves, contours, and specific dimensions, ensuring a professional and seamless look.
- Repurpose and Scale Designs: Easily scan small images and enlarge them into striking car decals without losing quality, thanks to the precision of scanning and cutting machines.
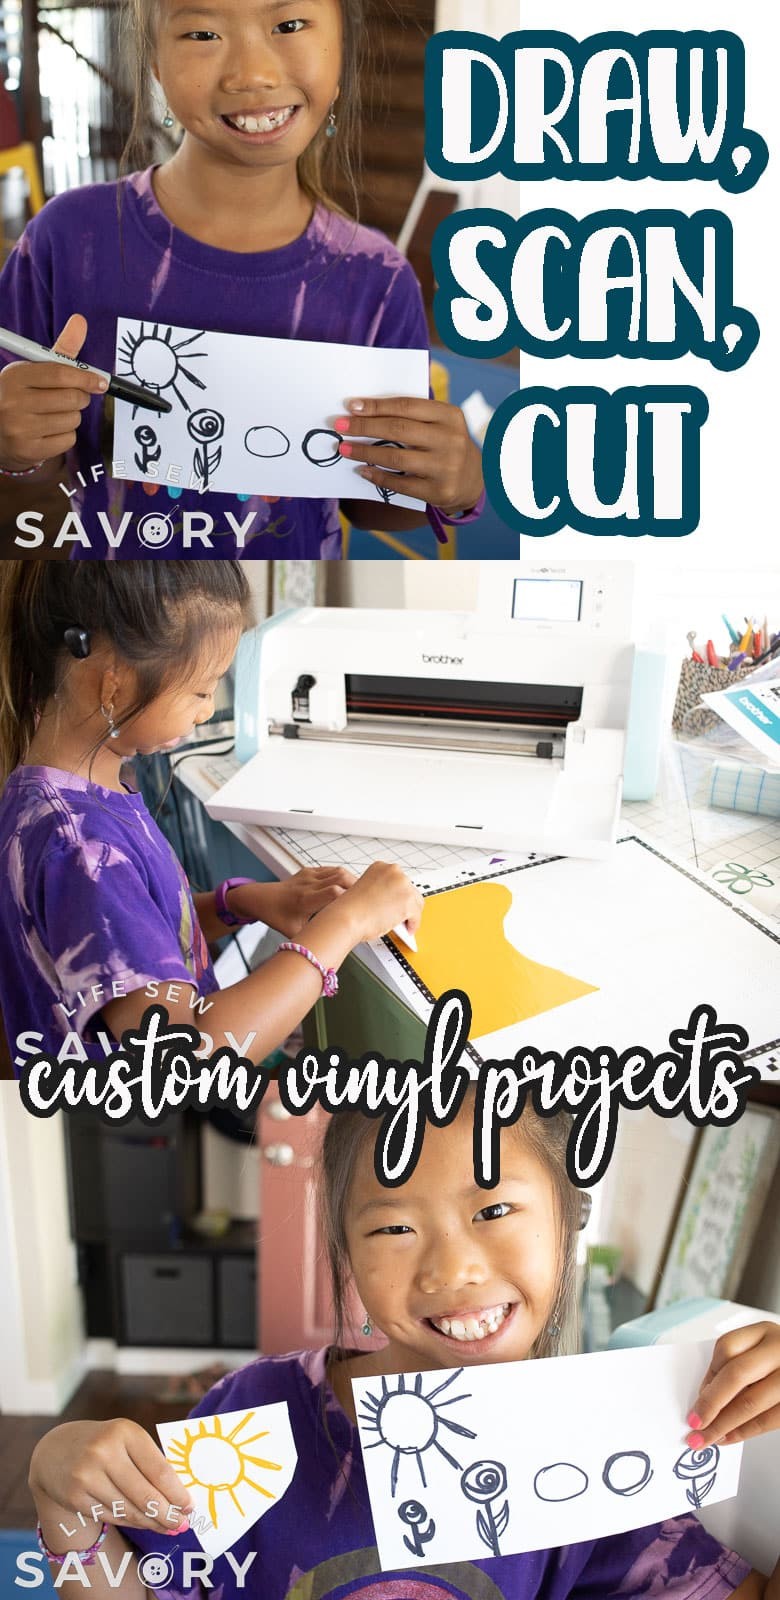
- Kid-Friendly Car Art: Turn your children’s drawings into adorable and unique car decals, making family trips even more fun and showcasing their creativity on the go.
Scanning for Car Decals: A Step-by-Step Guide
The process of scanning and cutting car decals is surprisingly straightforward. Here’s how to get started:
1. Preparing Your Image or Drawing for Scanning
For optimal scanning results for your car decal project, consider these tips:
- High Contrast is Key: Ensure your drawing or printed image has clear, bold lines and good contrast against the background. Black lines on white paper work best for scanning.
- Solid Lines for Clean Cuts: Thicker, solid lines are easier for the machine to scan and translate into clean cut lines for your car decal. Avoid very thin or dashed lines if possible.
- Choose the Right Medium: You can scan drawings on paper, printed graphics, or even text. For drawings, markers or pens with dark ink are ideal.
- Keep it Clean and Flat: Make sure your image is clean and free of wrinkles or creases before scanning. This will ensure a clear and accurate scan for your car decal design.
2. Scanning with Your Scan N Cut Machine
Let’s get scanning! These steps are generally applicable to Scan N Cut machines, but always refer to your specific model’s manual for detailed instructions.
- Prepare Your Mat: Use a low-tack mat to prevent damage to your original image, especially if it’s on delicate paper. Position your image securely on the mat.
- Load the Mat: Carefully load the mat into your Scan N Cut machine, ensuring it is properly aligned.
- Select “Scan to Cut Data”: On your machine’s touchscreen, navigate to the scanning options and choose “Scan to Cut Data” (or a similar option that directly scans for cutting).
- Initiate the Scan: Press the “Scan” button and watch as your machine scans the image. The scanned image will appear on the screen once complete.
3. Editing and Adjusting Your Scan for Car Decals
Once scanned, you have the opportunity to refine your design directly on the Scan N Cut screen:
- Zoom and Inspect: Zoom in on the scanned image to check the clarity of the lines and ensure all desired parts are captured accurately for your car decal.
- Adjust Line Sensitivity: Fine-tune the settings to ensure both inside and outside lines are detected if you want to cut both (e.g., for intricate designs or outlines).
- Crop Unwanted Areas: Use the cropping tool to remove any unnecessary parts of the scanned area, focusing only on the design you want for your car decal.
- Delete and Refine Lines: If needed, use the delete function to remove stray lines or refine the scanned image before cutting your car decal.
Cutting Your Car Decal from Weatherproof Vinyl
Now that you have your scanned design, it’s time to cut it out of vinyl and bring your car decal to life!
1. Choosing the Right Vinyl for Car Decals
For car decals, durability is crucial. Select a high-quality, weatherproof vinyl that is specifically designed for outdoor use.
- Weatherproof Vinyl: Look for vinyl labeled as “outdoor vinyl” or “weatherproof vinyl.” This type is designed to withstand rain, sun, and varying temperatures.
- UV Resistant Vinyl: For long-lasting color and to prevent fading, especially in sunny climates, choose UV resistant vinyl.
- Consider Vinyl Color and Finish: Choose a vinyl color that complements your car and desired aesthetic. Glossy, matte, or metallic finishes are popular options for car decals.
2. Cutting Settings for Car Decal Vinyl
Proper cut settings are essential for clean and precise car decals:
- Half-Cut Setting: Ensure your machine is set to “half-cut.” This setting cuts through the vinyl layer but leaves the backing paper intact, allowing for easy weeding and transfer.
- Test Cut: Always perform a test cut on a small piece of your chosen vinyl to verify your blade depth and pressure settings before cutting your final car decal design.
- Adjust Blade Depth: Adjust the blade depth according to the thickness of your vinyl. Start with the recommended setting for vinyl and adjust as needed based on your test cuts.
Applying Your Custom Car Decal
With your car decal cut and weeded, the final step is application!
- Clean the Car Surface: Thoroughly clean the area where you will apply the decal with soap and water, then wipe it down with rubbing alcohol to remove any wax or residue. Ensure the surface is completely dry.
- Use Transfer Tape: Apply transfer tape to the front of your weeded decal. This will lift the decal from the backing paper and allow for precise placement on your car.
- Position and Apply: Carefully position the decal on your car. Use a squeegee or credit card to firmly press the decal onto the surface, working from the center outwards to eliminate air bubbles.
- Peel Away Transfer Tape: Slowly peel away the transfer tape, leaving your custom car decal perfectly adhered to your vehicle.
Start Designing Your Dream Car Decals Today!
The “car decal scan” method, combined with a Brother Scan N Cut machine, empowers you to create professional-quality, custom car decals from the comfort of your home. From intricate graphics to simple personalized text, the possibilities are as limitless as your imagination. So, grab your Scan N Cut, unleash your creativity, and transform your vehicle with unique car decals that truly stand out on the road.