In today’s digital age, converting physical documents into digital formats like PDFs is essential for streamlining workflows and going paperless. While traditional methods involved scanners and computers, your Android phone offers a convenient and efficient solution right at your fingertips. This guide will walk you through simple methods to scan documents to PDF directly on your Android device, utilizing built-in tools and readily available apps.
Method 1: Leveraging the Power of Google Drive
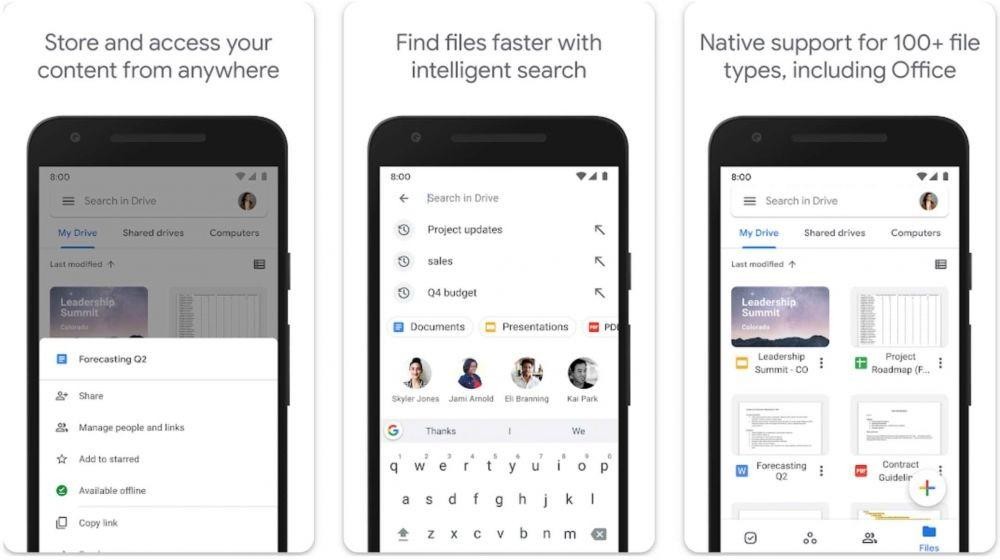
Google Drive, a pre-installed app on most Android phones, offers a seamless way to scan documents and save them as PDFs. Here’s how to use Google Drive as your document scanner:
- Prepare Your Document: Place the document you want to scan on a flat, well-lit surface.
- Open Google Drive: Launch the Google Drive application on your Android phone.
- Initiate Scan: Tap the “+” icon typically located in the bottom right corner of the screen.
- Select “Scan”: From the options that appear, choose “Scan”.
- Position Your Phone: Hold your phone directly above the document, ensuring it’s within the frame. Be mindful of shadows to get a clear scan.
- Capture the Document: Tap the shutter button (usually a circular button at the bottom) to take a picture of the document.
- Adjust and Crop: Google Drive automatically detects document edges. Adjust the crop as needed to ensure only the document is included in the scan.
- Finalize Scan: Tap “Done” to confirm the crop and complete the scanning process for the current page.
- Save Your PDF: Choose a folder in your Google Drive to save the scanned document. You can also rename the file at this stage. The scanned document is automatically saved as a PDF file.
By following these steps, you can quickly transform paper documents into digital PDFs using the Google Drive app on your Android phone.
Method 2: Utilizing Microsoft Lens for Enhanced Scanning
Microsoft Lens is another excellent tool for scanning documents to PDF on Android, offering features specifically designed for document digitization. Here’s how to scan to PDF using Microsoft Lens:
- Prepare Your Document: Place the document you intend to scan on a flat surface with good lighting.
- Open Microsoft Lens: Launch the Microsoft Lens application on your Android phone. If it’s not already installed, you can download it from the Google Play Store.
- Select “Document” Mode: At the bottom of the screen, ensure the mode is set to “Document”. This mode is optimized for scanning papers and whiteboards.
- Frame the Document: Position your phone’s camera over the document. Microsoft Lens will automatically detect the document’s edges in real-time.
- Capture the Scan: Tap the shutter button to capture the image of the document.
- Crop and Adjust: Microsoft Lens allows you to further refine the crop after capturing. Adjust the crop lines to precisely outline your document.
- Save as PDF: Before saving, tap the “PDF” option from the file format choices.
- Choose Save Location: You can save the PDF to your device’s storage or directly to your OneDrive account if you have one connected.
Microsoft Lens offers a robust scanning experience with features like automatic edge detection and perspective correction, making it a powerful option for creating clear and professional-looking PDF scans on your Android phone.
Method 3: Samsung Galaxy’s Built-in Scan Feature
For Samsung Galaxy users, scanning documents to PDF is even more integrated, thanks to a built-in feature within the native camera app. This eliminates the need for additional app installations. Here’s how to use the Samsung Galaxy scan feature:
- Prepare Your Document: Place the document on a flat, even surface.
- Open Camera App: Launch the default Camera application on your Samsung Galaxy phone.
- Position Camera Over Document: Point your camera at the document. Ensure the entire document is visible within the camera frame.
- Wait for “Scan” Prompt: When the camera detects a document, a “Scan” or “Pindai” button will appear in the bottom right corner of the screen.
- Tap “Scan”: Tap the “Scan” button to initiate the scanning process.
- Adjust Scan Area: Adjust the corners and crop of the scanned document if needed.
- Save the PDF: Tap “Save” to save the scanned document as a PDF file. If you need to rescan, tap “Retake”.
Samsung’s built-in scan feature offers a remarkably convenient and quick way for Galaxy users to digitize documents directly from their phone’s camera app, streamlining the process of creating PDF files from scans.
By utilizing any of these methods, you can easily scan documents to PDF on your Android phone, removing the necessity for a traditional scanner. Embrace the convenience of mobile scanning and simplify your document management today.