
If the System File Checker (SFC) scan identifies corrupted system files it couldn’t automatically repair, manual replacement is your next step. This guide will walk you through how to manually replace these files with known good copies, ensuring the stability and performance of your Windows system.
Before proceeding with manual replacement, it’s crucial to understand that this process is typically recommended after you’ve already run the sfc /scannow command and reviewed the log file to pinpoint the specific corrupted file. This ensures you are targeting the correct file for replacement and avoids unnecessary system modifications.
Step 1: Take Administrative Ownership of the Corrupted System File
To modify a protected system file, you first need to take ownership of it. Open Command Prompt as an administrator. You can do this by typing “cmd” in the Windows search bar, right-clicking on “Command Prompt,” and selecting “Run as administrator.”
In the elevated command prompt, type the following command and press ENTER. Replace <corrupted_file_path> with the actual path and filename of the corrupted file identified in your SFC scan logs.
takeown /f <corrupted_file_path>Example:
If the corrupted file is jscript.dll located in the System32 folder, the command would be:
takeown /f C:windowssystem32jscript.dllStep 2: Grant Administrators Full Access to the Corrupted System File
Taking ownership is the first step; you also need to grant administrators full control permissions to modify the file. In the same elevated command prompt, execute the following command, again replacing <corrupted_file_path> with the correct path:
icacls <corrupted_file_path> /grant administrators:FExample:
Using the same jscript.dll example, the command would be:
icacls C:windowssystem32jscript.dll /grant administrators:F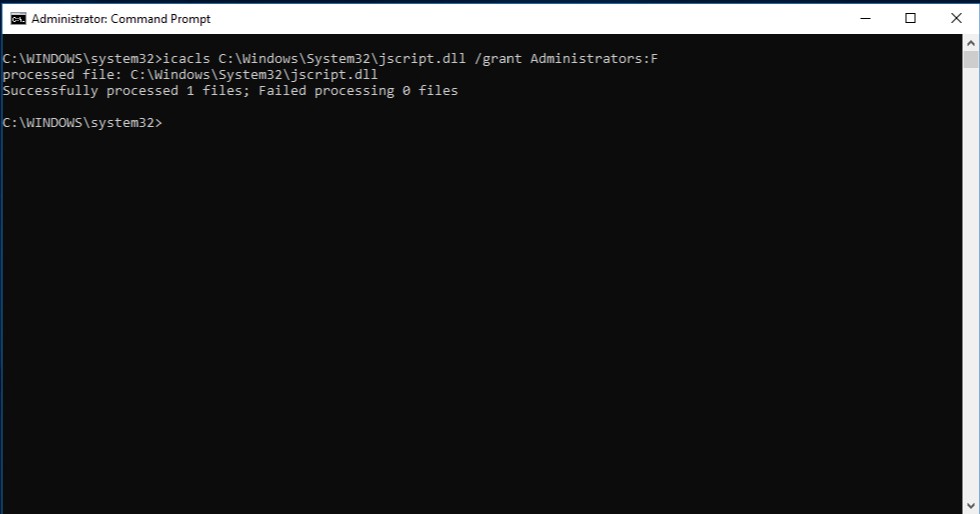 Command Prompt showing commands to take ownership and grant permissions to a system file
Step 3: Replace the Corrupted System File with a Known Good Copy
Now that you have ownership and permissions, you can replace the corrupted file. You’ll need a “known good copy” of the file. A reliable source for this is another computer running the exact same version and edition of Windows. You can even run an SFC scan on that healthy computer (sfc /scannow) to ensure the file you copy is indeed in good condition.
Once you have the good copy, use the copy command in the elevated command prompt. Replace <good_file_path> with the location of the good file, and <corrupted_file_path> with the path to the corrupted file you are replacing.
Copy <good_file_path> <corrupted_file_path>Example:
If you copied jscript.dll from a USB drive (drive letter E:) to a temporary folder named temp, and the corrupted file path is as before, the command would be:
copy E:tempjscript.dll C:windowssystem32jscript.dllAfter executing these steps, restart your computer. In most cases, manually replacing the corrupted system file will resolve the issues identified by the SFC scan.
If manual file replacement doesn’t resolve the problem, more extensive troubleshooting or even a Windows reinstallation might be necessary. Refer to Recovery options in Windows for further guidance on system recovery.