Have you ever needed to make changes to a document only to find out it’s a scanned PDF? While PDF files are excellent for sharing documents easily, editing a scanned PDF can seem impossible at first. This is because scanning often saves documents as images, making the text unreadable by standard PDF editors.
However, don’t worry! It’s absolutely possible to edit scanned PDFs. This guide will walk you through straightforward methods to make your scanned documents editable, whether you prefer using desktop software or online tools. Let’s dive in and learn how to edit scanned PDF files with ease.
Editing Scanned PDFs on Your PC
One effective way to edit scanned PDFs is by using desktop applications. This method offers the advantage of offline access and often comes with a broader range of features, including creating PDFs, merging documents, and converting file formats.
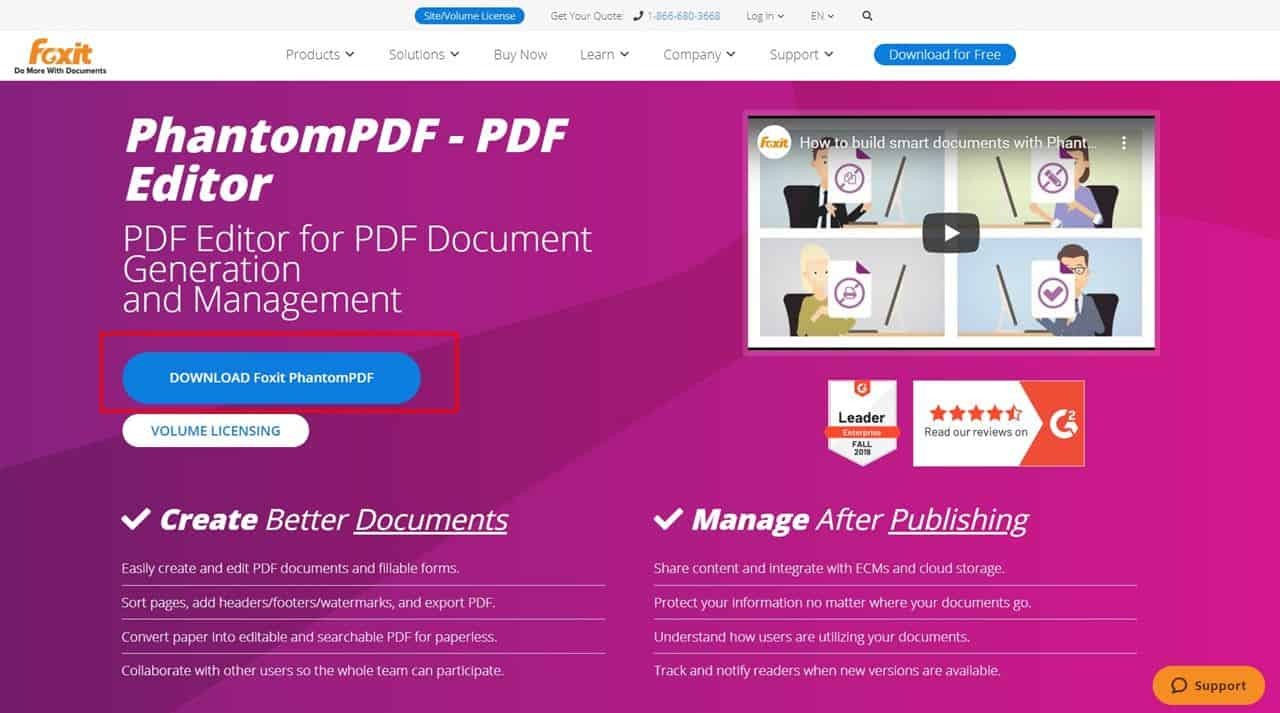
1. Download Foxit PhantomPDF
First, you’ll need to download a PDF editing software like Foxit PhantomPDF. Visit the Foxit PhantomPDF download page by clicking this link. Once you’re on the page, locate and click the “Download Foxit PhantomPDF” button.
On the subsequent page, you’ll be asked to provide some personal information. Fill in the required details and click “Download Free Trial”. You can choose between EXE or MSI versions – both function identically. After the setup file downloads, run it to install the application on your computer.
2. Open Foxit PhantomPDF and Start Free Trial
Launch the Foxit PhantomPDF application and select the Free Trial option. You’ll see options like Business, Standard, and Education. All of these versions include the OCR feature necessary to edit scanned PDFs, but they differ in additional functionalities. Choose the option that best suits your needs to proceed with the free trial.
Next, you will be prompted to enter personal information for registration. Complete the form and click Register Now. A message confirming your successful 14-day free trial will appear. Once installed, open the application, click Open File, and select the scanned PDF file you wish to edit.
3. Perform OCR on Your Document
Now, it’s time to use OCR on your document. OCR, or Optical Character Recognition, is the technology that allows the software to recognize text within images and PDFs. By recognizing the text, you’ll be able to search for keywords and edit the scanned PDF file.
Navigate to the Convert tab and select the OCR menu. You’ll have two choices: Current File and Multiple Files. The Multiple Files option allows you to make several PDF files editable at once. For this guide, click Current File, select “Editable Text”, and then click OK. Wait for the OCR process to complete.
4. Edit Your PDF File
Your scanned PDF file is now editable! Be aware that the layout might slightly change, and OCR accuracy isn’t always perfect. If your scan quality is low, some characters might be misread or missed.
To begin editing, select the Edit tab and click on Edit Text. You can now freely edit the scanned PDF as needed. Remember to save your changes by pressing CTRL + S on your keyboard when you’re finished.
Editing Scanned PDFs Through Your Browser
If you prefer not to download and install software, or if you only need to edit scanned PDFs occasionally, using an online browser method is a great alternative. This eliminates the need for software installation and can be done from virtually any device with internet access.
1. Visit an Online OCR Website
To edit scanned PDFs online, you’ll need to use an online OCR service. For this tutorial, we’ll use NewOCR.com. NewOCR.com is a user-friendly site that doesn’t limit the number of PDF uploads. Type “https://newocr.com” into your browser’s address bar and press Enter.
2. Upload Your Scanned PDF File
You will see a Choose File button that allows you to browse your computer for the PDF file and upload it to their server. Rest assured, your documents are secure. NewOCR.com states that all uploaded files are immediately deleted from their servers, ensuring your information remains private.
After selecting your PDF file, click the Preview button. On the next page, you can select the language used in your PDF – NewOCR.com supports multiple languages. After choosing the language, click the OCR button to convert your document into an editable format.
3. Edit and Download Your File
The text from your PDF will be extracted and displayed in a text box, which you can copy and edit directly. Furthermore, you can download the text in DOCX or TXT formats, giving you an editable file. Congratulations, you’ve successfully extracted editable text from your scanned PDF!
Keep in mind that online OCR tools might not be as accurate as desktop software, and the text formatting (font, size, margins) in the final file might differ slightly from the original. This is due to the limited features compared to dedicated applications.
Conclusion
These are two effective methods to edit scanned PDF documents. Whether you choose to use desktop software or an online browser tool depends on your needs and preferences. If you have a stable internet connection and require high accuracy and extensive features, desktop software with a free trial is a great option. For occasional use or when you need a quick and easy solution without software installation, online OCR tools are perfect. Choose the method that best suits your situation and start editing your scanned PDFs today!