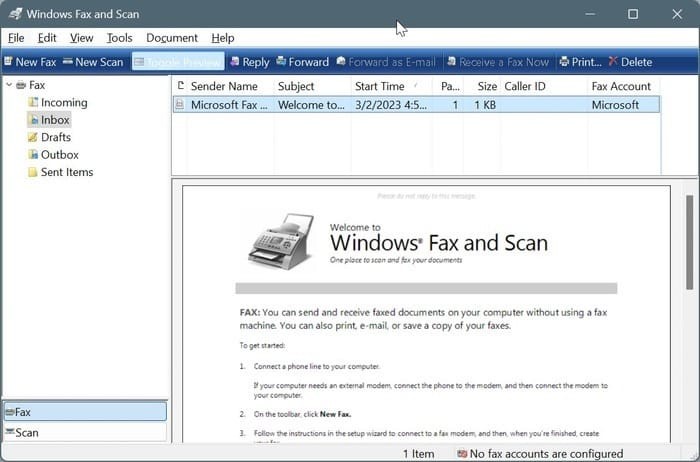
While Windows 11 comes with the modern Scan app, some users still prefer the classic Windows Fax and Scan tool. Notably absent from the default Windows 11 installation, Windows Fax and Scan is still available as an optional feature. This guide will walk you through the simple steps to install Windows Fax and Scan on your Windows 11 system, ensuring you have access to this familiar utility alongside the new Scan app.
Many users find the Scan app to be a suitable replacement, and it even offers convenient features like saving scanned documents directly as PDFs. However, if you’re accustomed to the interface and functionalities of Windows Fax and Scan, or if you encounter issues with the Scan app recognizing your scanner, reinstalling the classic tool can be a worthwhile solution. Fortunately, Microsoft has made it easy to add back Windows Fax and Scan as an optional feature in Windows 11.
This tutorial provides a clear, step-by-step process to get Windows Fax and Scan up and running on your Windows 11 machine.
Steps to Add Windows Fax and Scan Feature in Windows 11
The installation process is straightforward and can be completed within a few minutes. Ensure your computer has an active internet connection to download and install the feature.
Step 1: Open the Settings app in Windows 11. You can do this by pressing the Windows key + I shortcut, or by searching for “Settings” in the Start menu. Once the Settings window is open, click on System.
Step 2: In the System settings, scroll down on the right-hand side menu until you find Optional features and click on it. This section manages optional functionalities that you can add or remove from your Windows 11 installation.
Step 3: On the Optional features page, you will see a button labeled View features next to “Add an optional feature”. Click on this button to proceed to the list of available optional features.
Step 4: A new window titled “Add optional features” will pop up. In the search bar at the top, type “Windows Fax and Scan”. This will filter the list and quickly locate the feature you are looking for. Alternatively, you can scroll down through the list until you find Windows Fax and Scan.
Step 5: Once you have located “Windows Fax and Scan”, check the box next to it to select it for installation. After selecting the checkbox, click the Next button located at the bottom of the “Add optional features” window.
Step 6: You will now see an “Install” button. Click on the Install button to begin the installation process for Windows Fax and Scan. Windows 11 will now download and install the necessary files. The installation time may vary depending on your internet speed, but it usually completes within a few minutes. You can monitor the installation progress on the Settings > System > Optional features page.
Step 7: After the installation is complete, you can easily access Windows Fax and Scan by searching for it in the Windows search bar. Simply type “Windows Fax and Scan” in the search box on your taskbar and click on the application to launch it.
Now you have successfully installed Windows Fax and Scan on your Windows 11 system. You can use both the new Scan app and the classic Windows Fax and Scan tool according to your preference. For further customization, you might also be interested in learning how to change scan settings in Windows 10 and Windows 11.